You need a circular saw, a framing square, pencil and measuring tape, 3" deck screws and something to screw it with ( I love my impact), a hammer and some 3" framing nails. If you do it with brackets like me then you need stair brackets and hanger nails too.
I got 2 pressure treated 16 foot long 2x12 boards and 10 stair brackets for my stairs. It was a total of 5 stairs. Four for the front door and one for my side door.
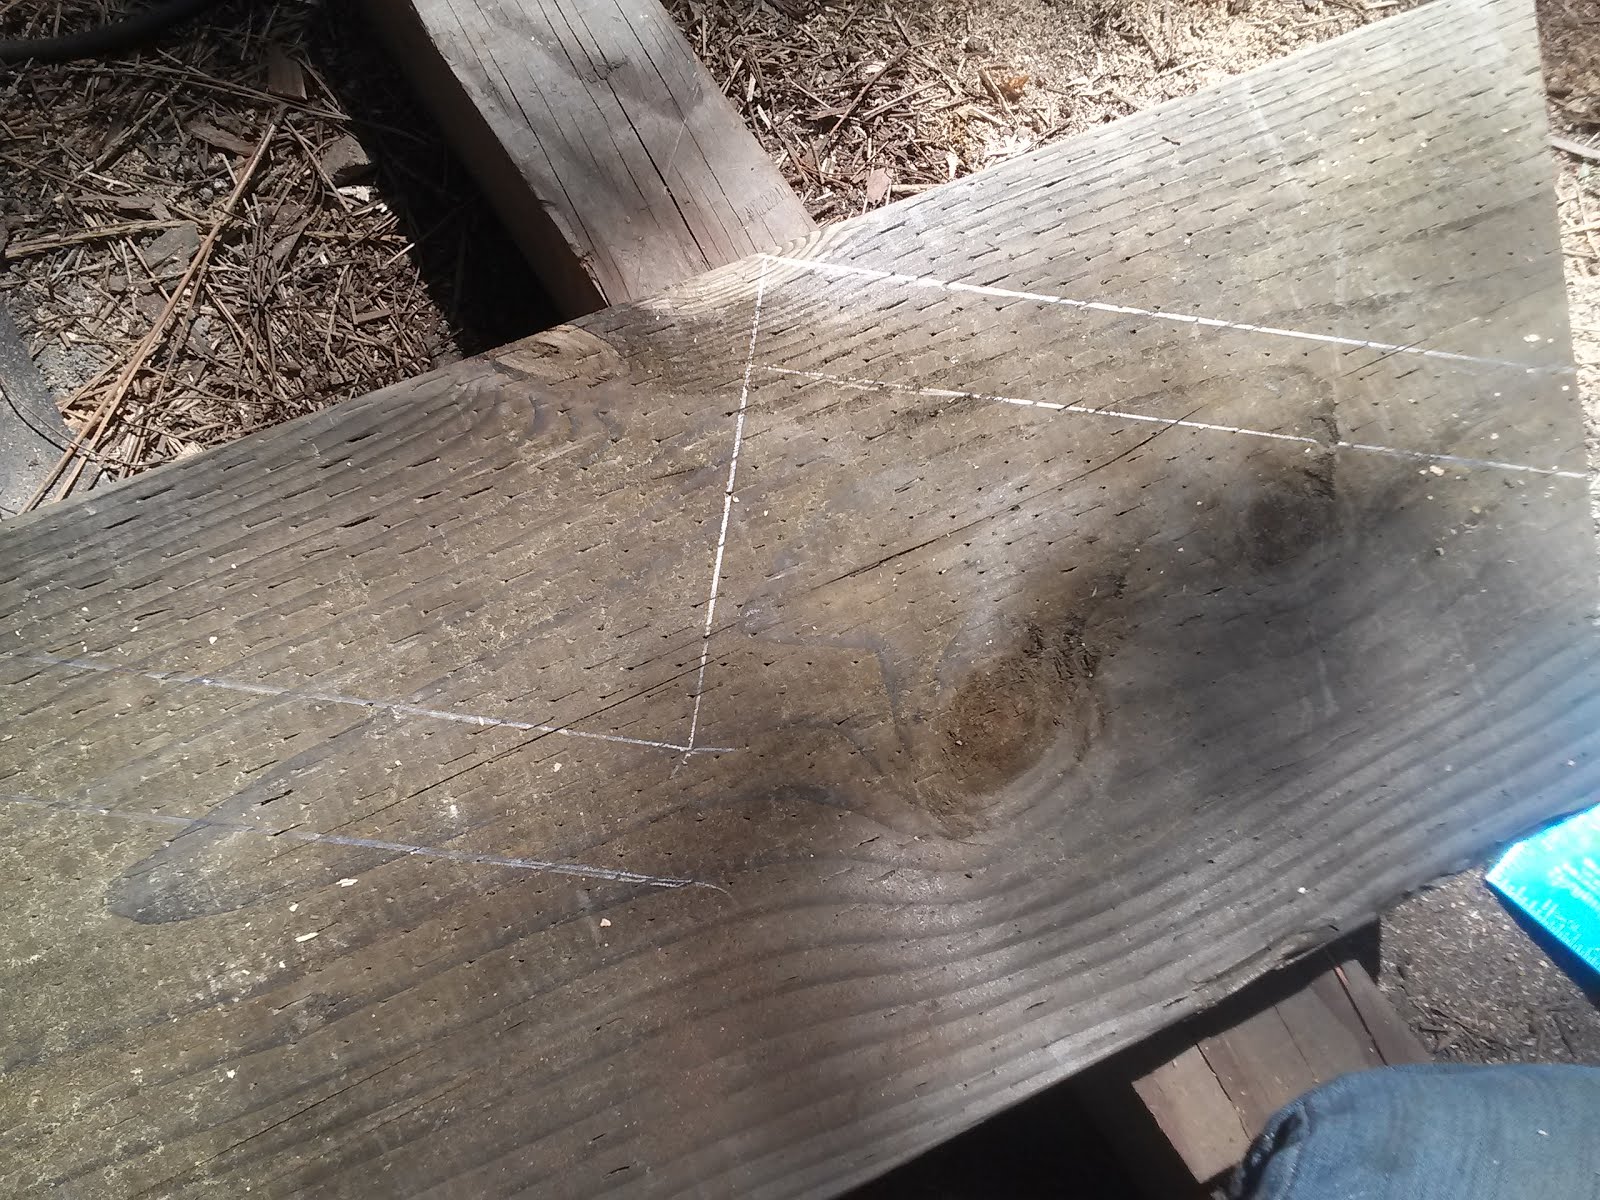
The most important part of making stairs is using your framing square properly. The general rule of stairs is 7" down and 11" over. To get your angle hold your framing square with one side at the 7" mark aligned to the edge of the board and the other at the 11" mark aligned to the edge. Mark this angle. For the first cut take the line from the 7" side and take it all the way across the board. This will create the angle that will be attached at the top.

To find out how many stairs you need measure from the where the top of the stairs will be to the top of where the stairs will land. Now mark the top edge of your stair board there. Now you can cut the 11" side you just marked because this will be the top stair.

From the last 11" mark that was cut slide your framing square over so the 7" is now on it and draw this right angle.Keep making angles with the framing square set to 7" and 11" until you get to or past the measurement mark you made for the top length.
You can make it flat on the bottom when installed or plumb up and down both by using the framing square aligned with the last stair mark made. It takes a little visualization to get it right but pencil can be erased.
Now there are two ways to continue. You can either cut out all the triangles made by the framing square and place the treads on top or you can use brackets and place the treads on them instead. Brackets cost about $5 each for heavy duty ones and require access to the underside of the stairs to finish nailing. Cutting out the triangles means less wood supporting each stair.
When cutting the triangles out it is handy to have a jigsaw or sawzall to get that last little piece holding the corners in after cutting both ways with a circular saw. Remember to make the treads that extra 3 inches longer or more if you want overhang to sit and nail or screw them down.
I used brackets since I was hesitant of cutting the angles. Not anymore though. After doing this project I am more confident of making stairs.
On each penciled in stair angle, the top is where the tread will be and the bracket needs to be the width of the wood below that line so I used a scrap piece placed against the line and marked below it.
I put one hanger nail in each bracket at this new line and put a level on top to put in the next nail. Then put in all the nails.
I attached the bottom of my sideboards first since I had a set width already there. The top is not attached so it can be adjusted.
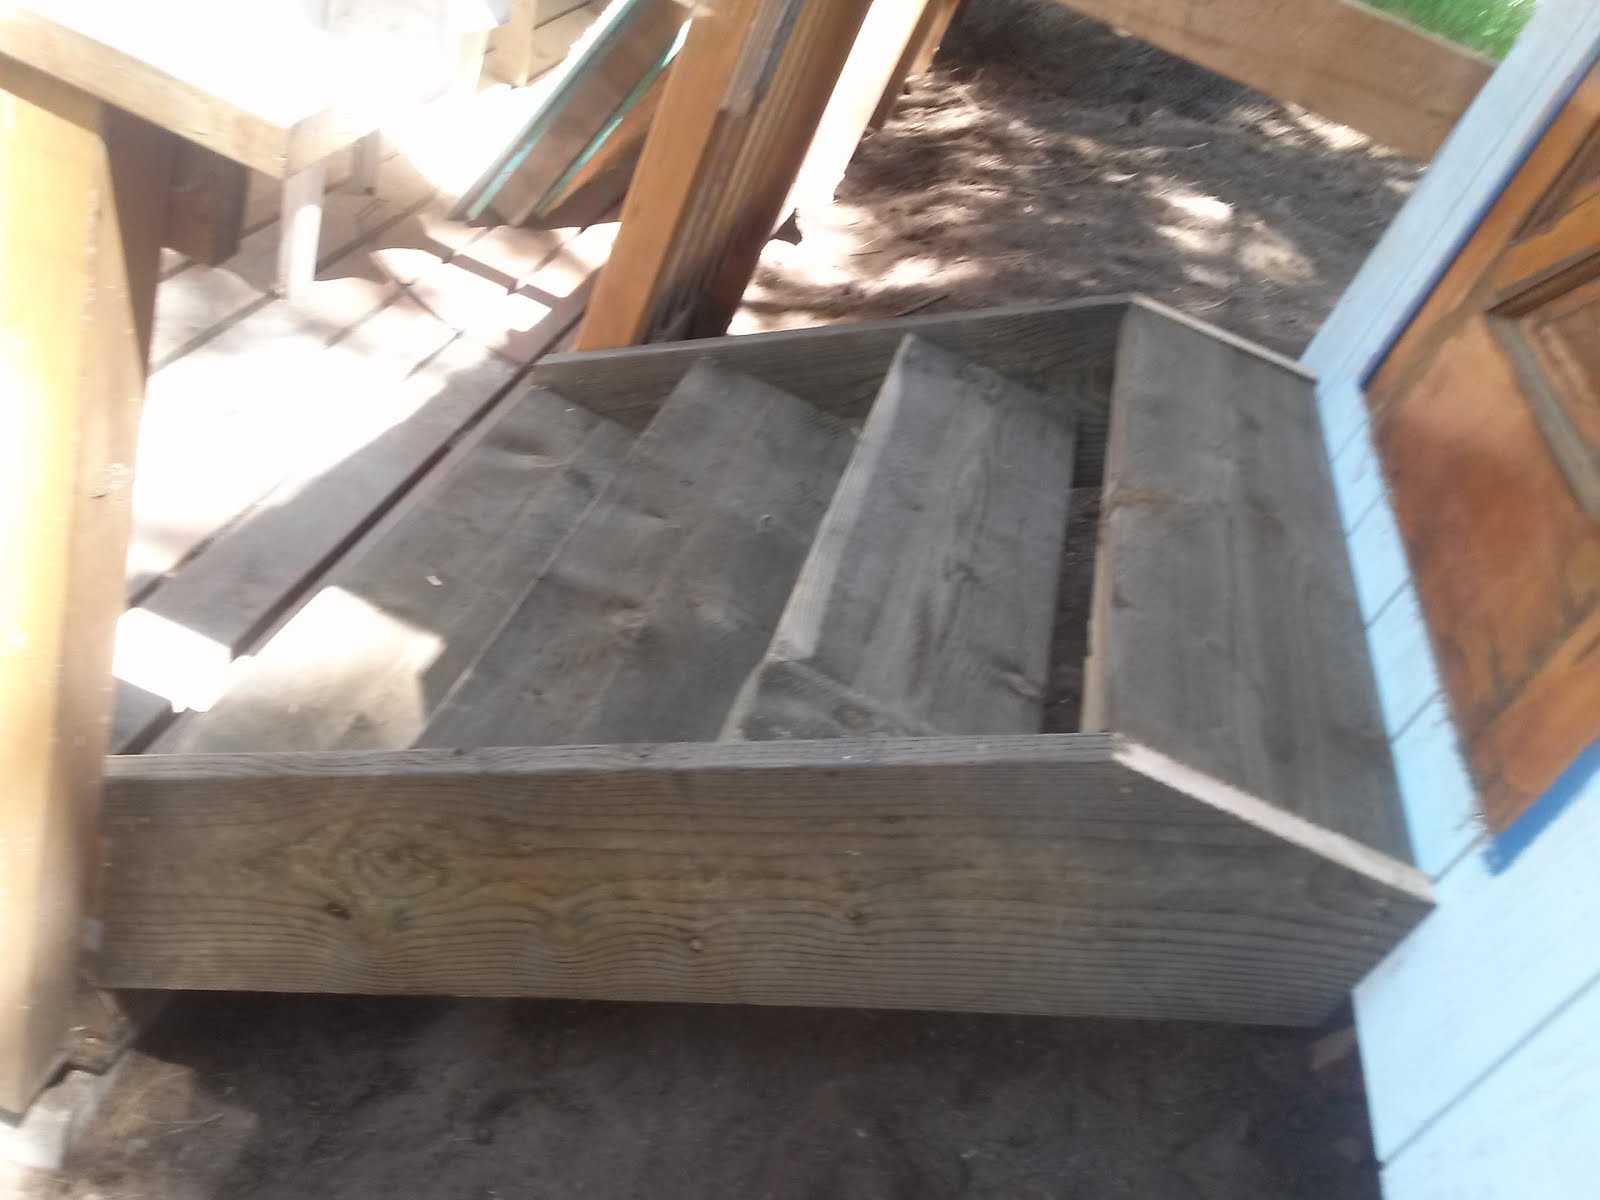
Cut all your treads the same length. Since my sides were attached at the bottom I measured that width and put the first tread on the top to align the sides. I used one deck screw per side to go through the side board into the tread to hold it in place since I have to nail the bottom of the tread into the bracket still and it will jump and move without something holding it. Then I screwed the rest of the treads on through the side boards making sure they are aligned with my pencil lines from the framing square.
Now that they are secure I attached the top of my stairs to my wall. I toenailed 2 framing nails per side through the top of the sideboards to my bottom plate under the door.
Here is where I slid under the stairs with my hanger nails and hammer to attach all the treads to the brackets.

I am going to make a rail on one side but for now they are done.
No comments:
Post a Comment
Always happy to hear from my readers!