Saturday, May 28, 2016

Branch shelf brackets

Last time I made shelves out of live edge wood I bought shelf brackets. At 7.99 a piece it negated my free wood.

This time I decided to make some out of the dead sequoia branches I knocked down a few months ago.

I have used the sequoia branches for cabinet trim, I put a piece in my countertop, and drilled holes in  the biggest straight ones to hold up the shower curtain rod.

Any branches will do if they are at least 1 and a half inches thick. Sequoia wood is prettier in the middle anyway, the outside looks like it could be cedar.

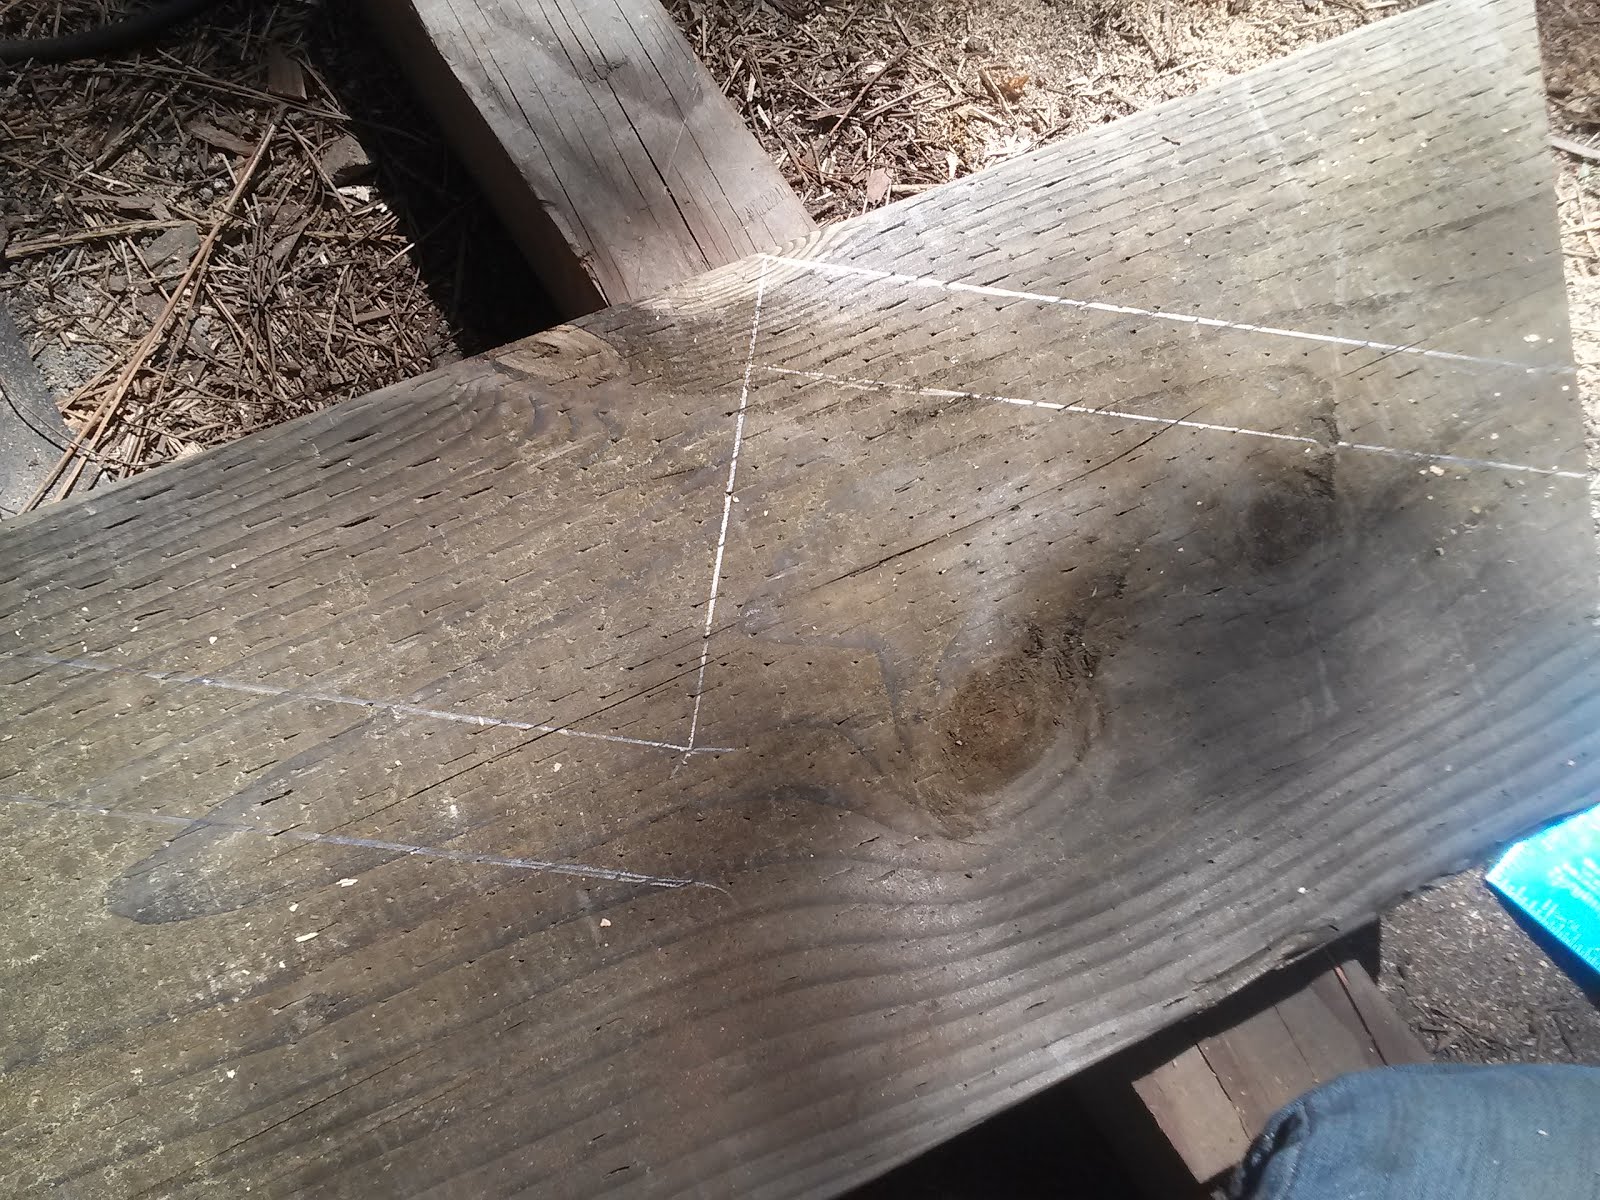
First cut your branches to size. The vertical ones can be pretty short, but I did the width of the shelf which is 8 inches. Now you need to cut the diagonal one. Each end gets a 45 degree. I cut one 45 degree then eyeballed where it would hit the shelf and cut the other 45 degree. I cut all the diagonals to this one.

If I didn't have my shelves made I would put another horizontal piece to make a triangle but really I don't need it. These shelves are holding detergent and towels.

Remove the bark. I know, I know, it  is cool to see the bark but especially with pine there are bark beetles or termites that love bark. I used pine for my actual shelves and the bark came off so nice with a hammer and small chisel that you can see the texture it left. My sequoia branches did not come off so easy except for the wet ones. I used a sharp knife and essentially shaved the pieces. Then I used a sander with 60 grit to get the rest off. I let them dry in the sun a bit.

I pre-drilled all the holes. Two in each vertical and one at the top and one at the bottom of every diagonal at an angle.

Now find your studs to attach the verticals. I used 3 inch screws to secure one side and then put a long level on top of this one to mark where the top of the other side goes. I used one and a half inch screws to screw the bottoms of my diagonals on.

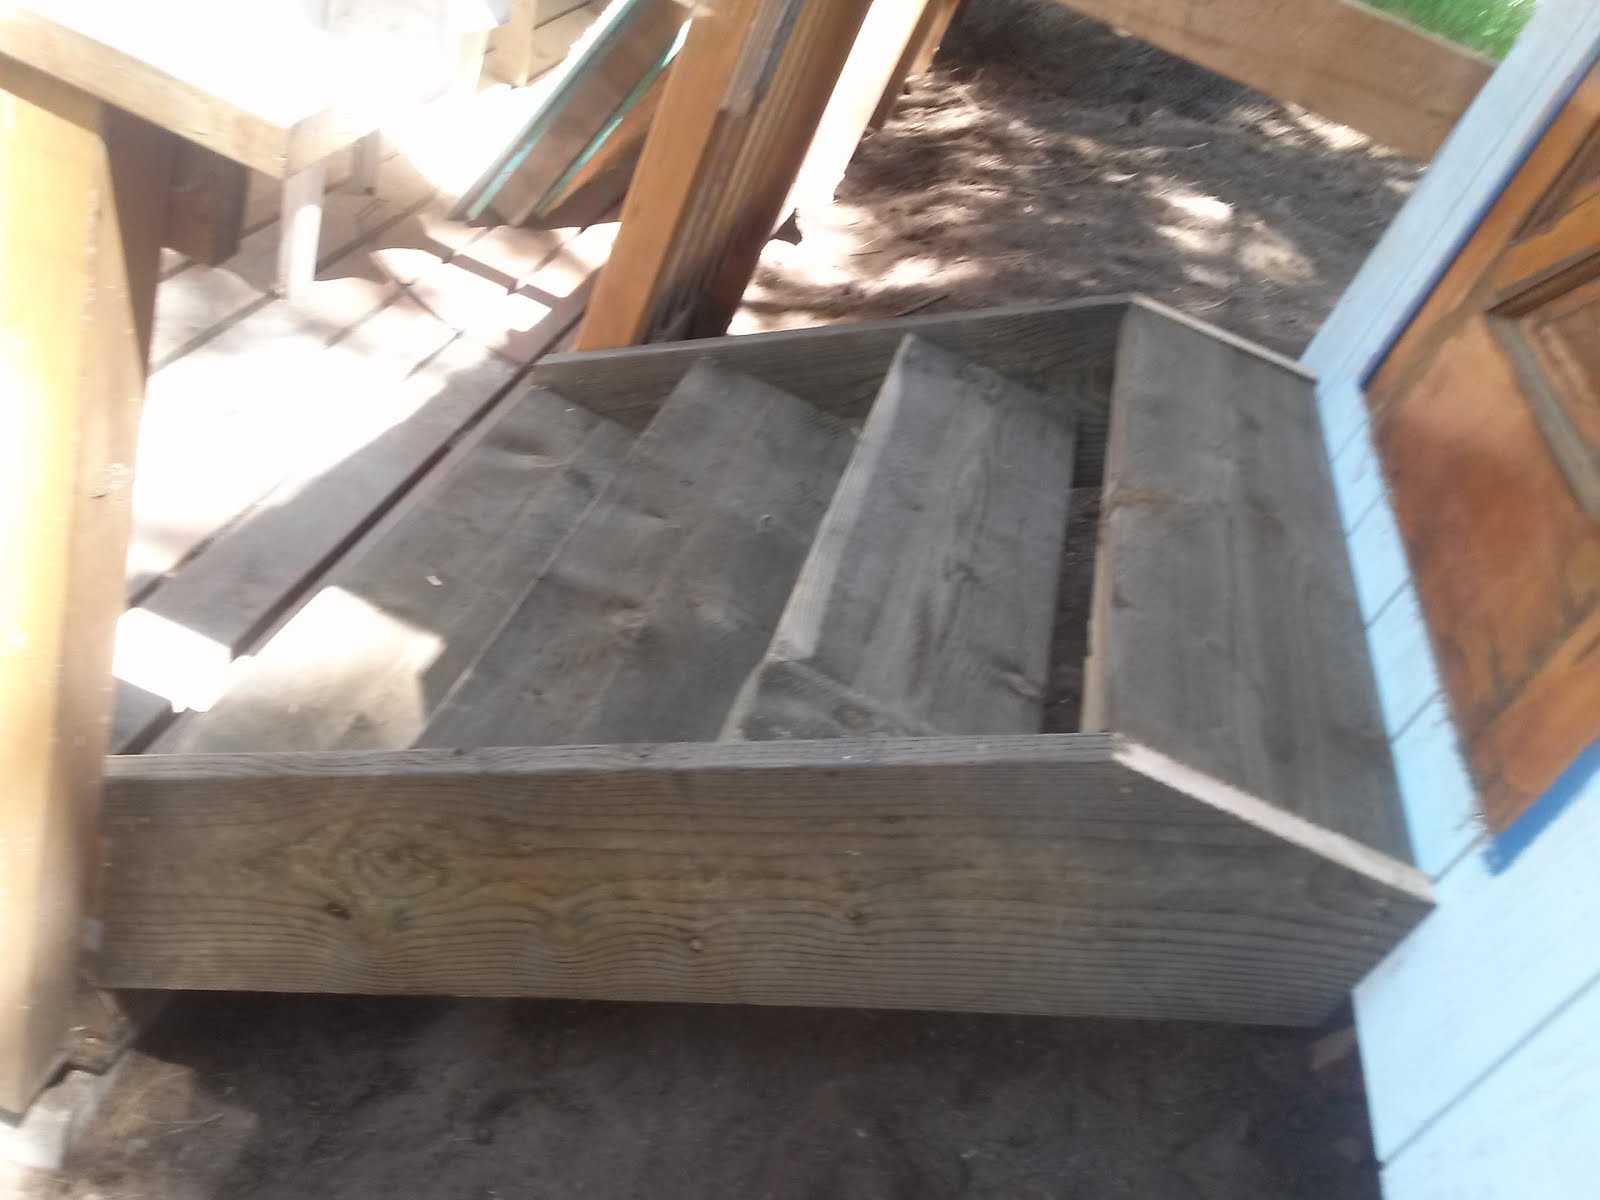
I set my shelves on and adjusted my diagonal branches to make the shelf level. Then I screwed the tops of the diagonals in. Now I screwed down through the shelf into the vertical branches to secure it and screwed more screws down into the diagonals from the top as well. Now put some polyurethane in the gloss of your choice and you are done.

Yes it took a few hours, mostly taking the bark off was a pain with the sequoia branches. However it gives my laundry room the rustic touch and I will probably do it for my next shelves too.


Thursday, May 26, 2016

Outdoor Stairs

Stairs is another thing that seems difficult but is actually easy. I forgot most of my trigonometry but luckily a framing square does the work without math.

You need a circular saw, a framing square, pencil and measuring tape, 3" deck screws and something to screw it with ( I love my impact), a hammer and some 3" framing nails. If you do it with brackets like me then you need stair brackets and hanger nails too.

I got 2 pressure treated 16 foot long 2x12 boards and 10 stair brackets for my stairs. It was a total of 5 stairs. Four for the front door and one for my side door.

The most important part of making stairs is using your framing square properly. The general rule of stairs is 7" down and 11" over. To get your angle hold your framing square with one side at the 7" mark aligned to the edge of the board and the other at the 11" mark aligned to the edge. Mark this angle. For the first cut take the line from the 7" side and take it all the way across the board. This will create the angle that will be attached at the top.

To find out how many stairs you need measure from the where the top of the stairs will be to the top of where the stairs will land. Now mark the top edge of your stair board there. Now you can cut the 11" side you just marked because this will be the top stair.


From the last 11" mark that was cut slide your framing square over so the 7" is now on it and draw this right angle.Keep making angles with the framing square set to 7" and 11" until you get to or past the measurement mark you made for the top length.

You can make it flat on the bottom when installed or plumb up and down both by using the framing square aligned with the last stair mark made. It takes a little visualization to get it right but pencil can be erased.

Now there are two ways to continue. You can either cut out all the triangles made by the framing square and place the treads on top or you can use brackets and place the treads on them instead. Brackets cost about $5 each for heavy duty ones and require access to the underside of the stairs to finish nailing. Cutting out the triangles means less wood supporting each stair.

When cutting the triangles out it is handy to have a jigsaw or sawzall to get that last little piece holding the corners in after cutting both ways with a circular saw. Remember to make the treads that extra 3 inches longer or more if you want overhang to sit and nail or screw them down.

I used brackets since I was hesitant of cutting the angles. Not anymore though. After doing this project I am more confident of making stairs.

On each penciled in stair angle, the top is where the tread will be and the bracket needs to be the width of the wood below that line so I used a scrap piece placed against the line and marked below it.


I put one hanger nail in each bracket at this new line and put a level on top to put in the next nail. Then put in all the nails.


I attached the bottom of my sideboards first since I had a set width already there. The top is not attached so it can be adjusted.

Cut all your treads the same length. Since my sides were attached at the bottom I measured that width and put the first tread on the top to align the sides. I used one deck screw per side to go through the side board into the tread to hold it in place since I have to nail the bottom of the tread into the bracket still and it will jump and move without something holding it. Then I screwed the rest of the treads on through the side boards making sure they are aligned with my pencil lines from the framing square.

Now that they are secure I attached the top of my stairs to my wall. I toenailed 2 framing nails per side through the top of the sideboards to my bottom plate under the door.

Here is where I slid under the stairs with my hanger nails and hammer to attach all the treads to the brackets.


I am going to make a rail on one side but for now they are done.


Tuesday, May 24, 2016

Make a lamp out of anything

A long time ago I made a hanging milk can lamp out of an antique milk can that the bottom rusted out. Just recently I turned an antique kerosene lamp into a modern light fixture.

A lamp is easy. Just get a socket, plug, switch and lamp wire long enough to go from your lamp to a wall outlet. Lamp wire is two strands stuck together. Does not matter what kind for a lamp. My hanging milk can got 10 feet which was a little much. Put your wire through whatever you want to put it through. It might need to go through lamp pipe that threads to the socket depending on what you are doing. Then strip the wire ends. You should have four stripped wires, about half an inch showing bare. Put the socket on one end and the plug on the other. Home Depot's had instructions in the bags for which end goes on what. The switch I got just snapped onto the wire, no cutting or stripping. Put in a bulb and bam! you have a lamp. Don't hang a lamp just by the wire, you can attach a chain and loop it through a plant hanging hook to take the weight off.

For a fixture you just need a socket, and some 16 gauge lamp wire.  Any home improvement store should have it. Get enough to go from the bottom of your fixture plus at least 6 inches above. I used two feet for my hanging kerosene light.  I also used a socket that had a threaded switch hole on the bottom to stay upright in my specific light.

The strand with the words on it is the hot side. This goes to the gold screw on the socket. The other goes to the silver. You will need to split the wires. I used a diagonal cutter to start then pulled with all my might. Now strip about a 3/4 of an inch off the ends. With my socket I had to make U shapes with the exposed wire and wrap it around the screw shafts. Face the U shape so when screwed, the screw will pull the wire tighter.

I put the bottom switch through an existing hole at the bottom and used the provided nut to screw it tight.

Now I had to drill holes for the wire to go through in the base and top. I used a chainsaw (rat tail) file to deburr the holes. That is very important so you don't tear the coating off the wires. I also used zip ties to keep the wire flush against the fixture to hide the wire. Once fished through everything split the wires at the top just like the bottom and strip the ends.

Now kill the power to the circuit you will be working on. My circuit breaker isn't labeled well so it took a few flips and running inside to flip the light switch and back out to get the right one.

I had a "boob" light where the decorative "nipple" unscrews and then the glass drops to reveal the screws holding it to the box. Drop the light and unscrew the wire nuts on the wires to fully remove it. If it is black and white wires then the black is the hot and goes to your hot lamp wire with the writing on it. The green or bare copper wire is the ground.

Use new wire nuts to place the bare end of your lamp wire to the bare end of the wall wire. Just put them together and twist the wire nut until you can see the wires twist around at least twice. Tuck the wires back up into the box.

My fixture also had existing holes in the top piece to screw the fixture into the electrical box so I used the old screws to install it. Now I put the bulb in and turned the circuit back on.

Flipped the switch a few times to make sure it worked so now I have a rustic modern light fixture.

Sunday, May 22, 2016

Chalkboard Paint

Chalkboard paint  has been around for a while but now it is popular. I got some for free at the Hazardous Waste re-use center (At your local household hazardous waste) and it took me a while to figure out what to do with it. It is water based so don't let it freeze; keep your latex paints inside even if you are lacking room.

The pony wall I put a bar top on between my kitchen and living room I thought needed to be darker. Chalkboard paint would be perfect! My entire house has wood paneling halfway up the walls so this pony wall was all wood. I sanded it with 150 grit and then cleaned the dust I just made off it with a wet cloth.

I made a quick chalk holder with some scrap wood and screws and screwed that on the wall.

Then I taped some paper to the floor since I am a bit messy with paint. I used a nylon brush for the cracks between the paneling and then a paint roller over all of it. It took two coats for full coverage.
I let it dry overnight and then slid chalk sideways over all of it and wiped it off to prepare the surface.

Now it is our grocery/to-do list. I just take a picture of it with my phone before shopping instead of using up paper.

If you are excited about this then you should be more excited to know that there is also whiteboard paint, magnetic paint, and glow in the dark paint for you creative people. Eventually I am going to try the glow in dark to remind of the stars I used to have on my ceiling as a kid.

Saturday, May 21, 2016

Banana Bread

First off I changed the name of the blog; someone was already a mountain modern woman long before me so now I am a rustic modern woman.

Next I made banana bread on this drizzly cloudy day. It is the same recipe from my Home Ec class in middle school. My dad still uses the pizza dough recipe I got too.

Banana bread is my kind of recipe. Not too many ingredients and comes out delicious every time.

To make two loaves start with one stick of butter and one cup of sugar in a mixing bowl. Use a knife to "cut" it into a crumbly mixture.  Now add 2 eggs, 3 tablespoons milk and  3 bananas and with the same knife smoosh all the bananas into little chunks.

Add 2 cups of flour and 1 teaspoon baking soda. Mix until there is no more dry flour. Heat the oven to 350 and pour the batter into two oiled loaf pans. The recipe rises about 40% so fill a little over halfway. This is the perfect amount for two beautiful loaves. Now set the timer for 45 min and find something else to do. So far every time I have had perfect loaves and they are so good I have to give some away so other people will think I am an awesome baker.


Friday, May 20, 2016

Tar and Shingles

As promised, here is the continuation of the roof project. When I moved into my new house I scoured the place for all that was left behind. In the crawl space under the house were several rolls of tar paper, stacks of shingles, insulation rolls, even some joint compound.

I found out after starting that each roll of tar paper had about 50 feet on them and it took 3 and a half shingles to make a 10 foot row. In all it took three rolls of tar paper and 3 and a half boxes of shingles for my 8x14 shed with two overhangs.

No power tools needed for this! Just a sharp knife, a measuring tape, pencil, T-square, stapler gun, and a box of staples for the tar paper. Almost the same except instead of staples, a hammer and a mess of 3/4" roofing nails with a needle nose pliers to hold the nails to do the shingles. It took me one day to do tar paper and shingle half the roof and the half the next day to finish the shingles. This is my first roof too.

First, if you don't have it already, a drip ledge is needed all around the roof. I got 4 pieces of 10 foot 2x2 and 2 pieces of 10 foot 2x4 ones that were pre-colored brown since my shingles are brown. They are very light and easy to cut with a hand held tin snips. The wider ones are for the bottoms where the rain will run down and the skinnier ones for the sides. Just put them on your edges, the little flip goes down, mark the edge with a pencil and use tin snips to cut. Then I used roofing nails, about every two feet to attach them. This is how I learned to hold the nails with needle nose pliers to hammer. I have small fingers and was nervous.
Holding 3/4 inch nail with needle nose pliers to nail.

Now for the tar paper. I already knew I had a 10 foot wide roof but was not sure of the length so took my handy measuring tape and measured, also had an overhang on the other side of the roof to measure. I started on the easy square side of the roof.  I measured out two pieces to go vertical on the sides of the roof first. That way I have extra protection in case I cut the horizontal ones too short.  I put my measuring tape on the ground and locked it where my measurement was and rolled out the tar paper to that. Then with my T-square at the measurement I used a sharp knife to score it and then starting sawing with it to get my cut.

Throw the pieces up on the roof and make some of the horizontal ones and throw those pieces up too. Now armed with my apron for easy pockets for my staples and staple gun I throw myself on the roof.  Start with the verticals, then the bottom piece, then align the next pieces to one of the lines on the tar paper. I used one about a foot down. Staple in the wood not the drip ledge and just go all around the edges. You can go a bit over the ridge or leave off right before the ridge. Then repeat on the other side. At the end put one more piece on the middle of the ridge. Done!

For shingles, put stacks every few feet on the roof and fill your pockets with roofing nails. Start at the bottom corner again and just do a pinky finger over the bottom edge and flush at the side. Nail two inches above the overlap line, every six inches and I put an extra one at the edges. Make the row. When you get to the end take a shingle and flip it upside down and score with your knife about two inches more than you need and cut. I tucked the ripped up edge a little under my last shingle to hide it. I had to sharpen my knife three times since tar is so thick and sticky. I save my cut pieces for the start of every other row and overlap a full shingle on top to hide my poor cuts. You need to get good before the ridge pieces at the end unless you have special ridge pieces.

Stop your shingle rows before the ridge and go start at the bottom of the other side. Keep going. When you get to the ridge I had one side right up to it and one a little short so I put one more row and nailed it over the ridge. Then I cut my full shingles into thirds hamburger style and started at one end and overlapped these pieces 50% making like a stack of tipped over poker chips. I nailed four nails across at about 40% of the width so the next piece would hide the nails. At the end you are stuck. There are going to be nails showing and I had some Henry's asphalt patch leftover that I put on the nail heads just to be extra cautious. Done! I swept off the roof, shimmied down and took down my scaffold. Good thing too because it rained last night after a week of beautiful 70 degree weather.

Thursday, May 19, 2016

Cutting plywood, starting a roof

Today I finished roofing a shed on my property that I started building with my dad 2 weeks ago. My dad loves building sheds. The weather has been excellent so I put on some music, rolled onto the roof and finished what I started yesterday.

It was last week that I cut a bunch of plywood to cover the roof. I got some free OSB (chipboard plywood) from my neighbor who works at construction sites. He said it was used to temporarily cover skylights so they all had notches at all four corners. A little more work and not as high quality as roofing plywood but hey, the price is right and it is just a shed.

I measured the usable areas on my plywood and then went up to the rafters with my measuring tape and found the largest middle-of-rafter to edge-of-roof I could make from my pieces, measured the leftover, and then back down to cut them all.

I used a circular saw to cut, a T square to draw my line, and a long 2x4 screwed down as my guide. The saw has a metal guide on it too but it is the width of a 2x4 so I aligned my long 2x4 by using a small 2x4 block against my pencil line and screwed my guide with some hex head screws and an impact gun with a bit holder on it. Impact guns save me soooo much time and they have gotten to  better prices so buy one and a bit set if you don't have one. I have the Milwaukee since I already had some batteries.

This is how I cut all plywood; it is just way easier than having to get the table saw set up and grabbing a buddy to hold an end while you stretch your arms to their full extent. Bleh. Just measure each side, T-square between the marks, 2x4 block at the line, then long 2x4 against that and screwed down. Cut, unscrew board, and on to the next. Good idea to wear safety glasses, ear protection and gloves. My antique circular saw is noisy and all of them spew wood chips.

To put the plywood pieces up on the roof first I screwed (with my 3" hex head screws) some small 2x4 blocks to the rafter ends with just a bit poking up to stop the plywood from sliding down and I put extra blocks on the corners making an "L" to have a hassle free alignment.

Now I had to enlist my boyfriend's help to slide me up the plywood pieces while I stood on the attic. Start with the corner and shove the plywood into the 2x4 "L" and screw that bad boy in. I used a hammer to start some 1 3/4" screws with a Torx (star) head and my impact with a Torx bit to screw them in. Screw on the rafters oh about every foot in the middle and six inches on the ends.  Align the next plywood pieces to that piece. Screw away. Then repeat. If you are like me and get a few gaps, it is OK because tar paper and shingles will cover it. The last pieces and biggest pieces I had to climb up on the roof to do so make sure to wear shoes with good tread.

Next post I will get to tar paper and shingles which in my opinion is easier but the plywood took a bit to do so I figured I would cover that first.
Enjoying myself on the roof. Wear sunscreen! Luckily I have plenty of big trees to shade me.

Wednesday, May 18, 2016

Welcome

Now that I bought a fixer-upper house in the beautiful city of Crestline, CA at 4500 feet elevation in the San Bernardino Mountains, I am finding there are a lot of projects that I need to do that other people may be interested in but not necessarily know where to start. I've found that a lot of things I never did before and was frankly scared to do are things that are actually easy and are skills that are good to have for any mountain modern woman.

I am going to be writing about not only crafting but actual construction because I've found myself doing both. I love to re-use, re-purpose and use cheap tricks to make things beautiful. I decided to name this blog Mountain Modern Woman because I believe the modern woman should be able to live on her own even if she isn't and I am in the mountains where nature is abundant and should be put to use.